Shasta portrait in progress 2 - In a sunlit forest
- Kevin Roeckl
- Jun 21, 2024
- 2 min read
Updated: Jun 25, 2024
The first 3 days work on Shasta’s portrait. I’m working on a sheet of “Felt Grey” Canson paper, my favorite background color to work on. It works great for the distant forest trees because that shade of grey is the predominant color in their trunks.
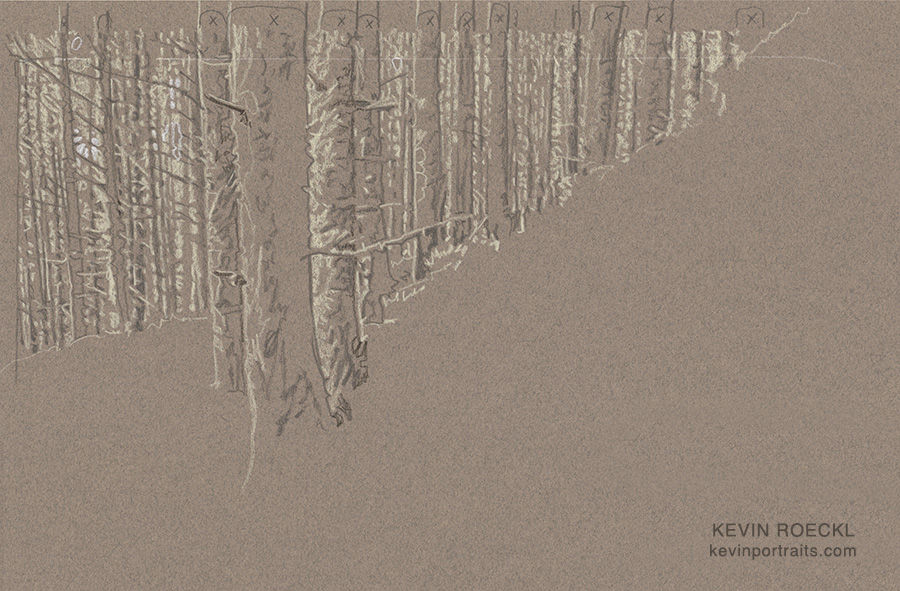
I almost always start in the upper left corner and work down and across, since I’m right handed, so I’m not dragging my hand over and over across finished portions. But it depends on my strategy for constructing the piece. That worked perfectly to start the forest in the upper left. Next I am going to work on Shasta. Then the bridge, and then fill in all the foliage around Shasta and the bridge. This is the first day’s work: the forest drawn in detail in the upper corner of the Canson paper. My drawings always start like this: the lights and darks, detailed outlines, made with a cream and a dark-grey pencil. Those shapes at the top of the paper with “x”s in them are noting where each whole tree trunk is. So all those vertical lines don’t get confusing while I’m trying to copy that dense forest from the reference photo.
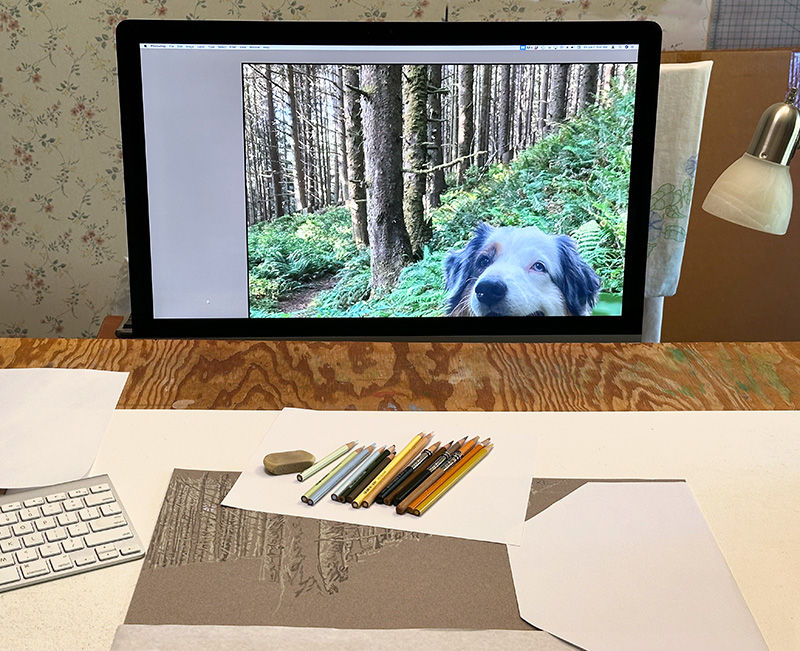
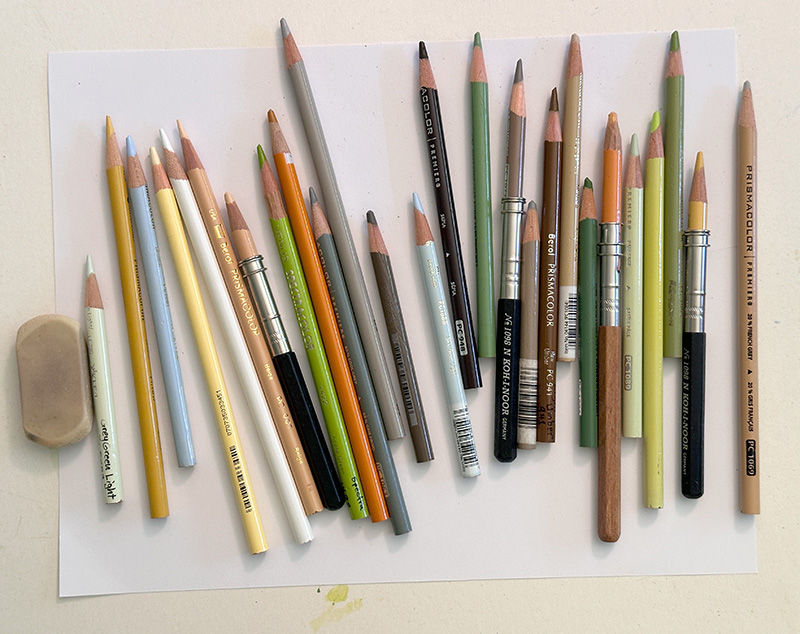
Working on the forest with my layout displayed on the monitor in front of me. The pencils I’m using are on a piece of white paper above the area I’m working on, and the rest of the Canson paper is covered with white paper to keep it clean.
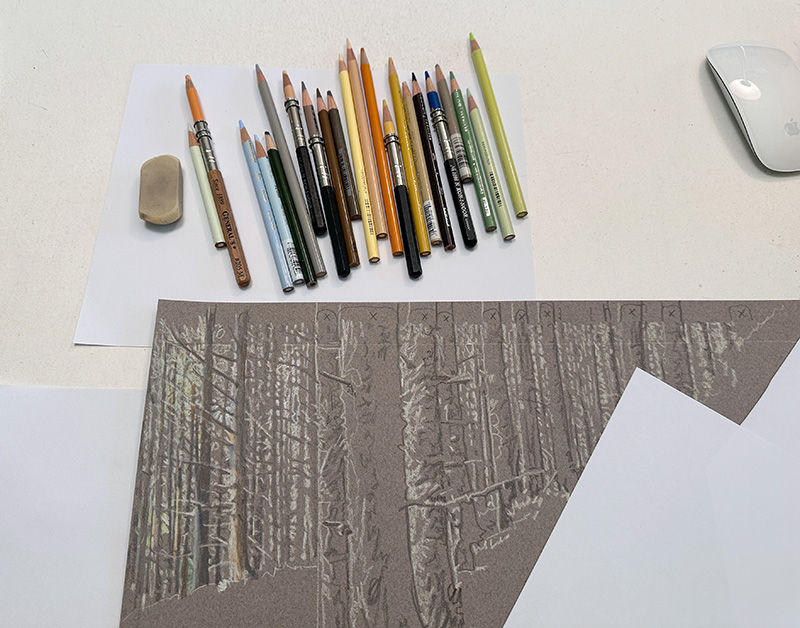
As I got further into the forest trees (working left to right) I pulled out more pencil colors. There is some pale foliage (greens) and distant blue sky (pale blues) showing between the trunks in a few places. Some of the sunlight on the trunks have orange and gold tones to it. In this photo I’m adding those colors in the farthest-left tree trunks.
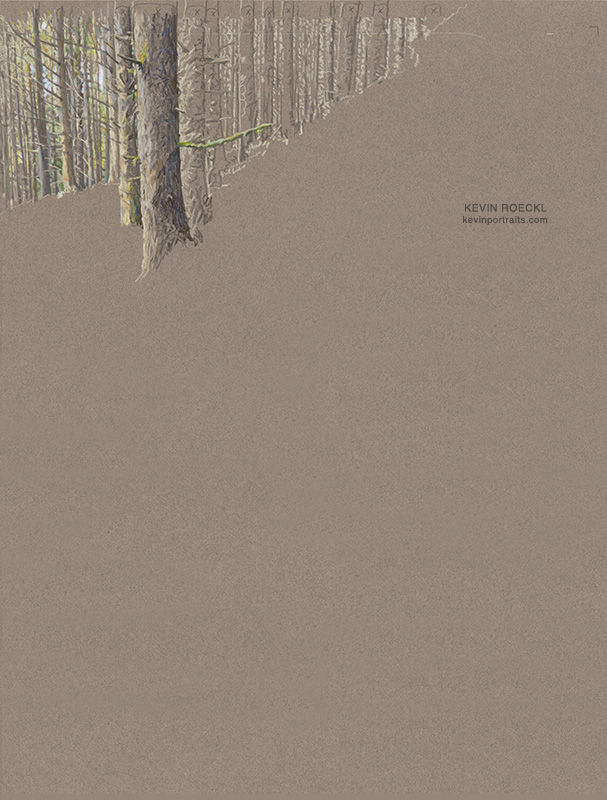
This is where I quit for the day today. Photos taken with my phone in the studio while I’m working don’t show detail as well. Occasionally I make a high-resolution scan of the artwork on my professional-grade scanner after I finish that day’s work. It’s time-consuming because I have to scan it in 8 pieces and stitch them together with Photoshop. But it gives a very accurate and detailed reproduction of the artwork. This shows the entire sheet of Canson paper as it looks now. One more days’ work will finish the forest trees. It will go faster as I get toward the right because the trees get shorter and shorter!
I’m using the grey of the paper to give me a lot of the color I need for the tree trunks. These pencil colors provide sunlight on the trunks (yellows, pale orange, pale warm greys), the distant foliage and some moss on the trees (warm greens and muted greens), two shades of pale blue for a few bits of sky showing through the trees, and dark greys and browns for the shadowed side of the trunks and branches.
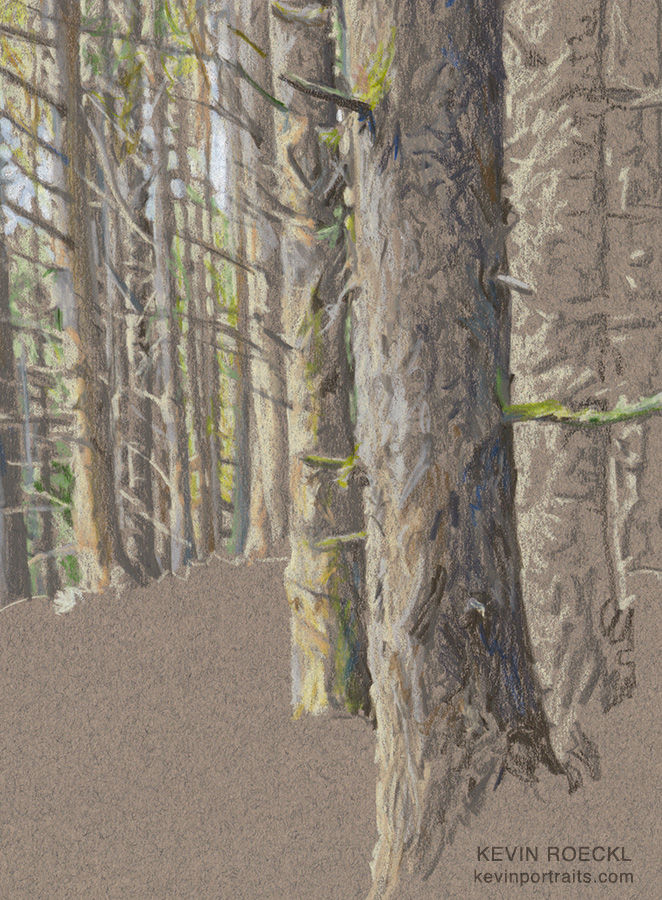
A closeup of the pencil work. You can see all those pencil colors I just showed you, put to good use on the grey paper.


Comments