Shasta portrait in progress 10 - Pausing for a little blue
- Kevin Roeckl
- Jul 16, 2024
- 3 min read
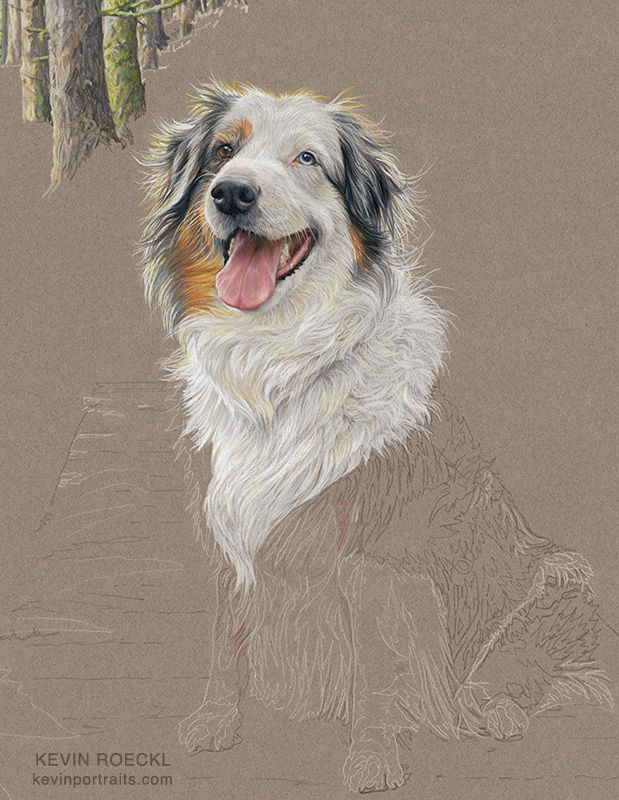
After I finished Shasta’s head and neck, I continued working my way down her body. But I had to pause my pencilwork for a series of steps that were needed where the left edge of her coat meets the background. This is how I accomplished it:
1
I finished Shasta’s white ruff, except for the left edge where the sunlight coming from the left hits her coat. I didn’t do that part yet because the wooden planks of the bridge she’s sitting on are a grayish-blue, and I want to put a wash of blue over the grey paper in that area to give me the right color for the bridge. That will save me coloring in that whole space with grey-blue pencils. However, there is a snag.
I will have to use white pencil to get the brightest white possible on the left side of Shasta’s ruff, lit by sunlight. If I do that, then add a blue wash over that edge (not painting painstakingly around each hair), it will tint the white pencil blue, as well as the grey paper.
So I’ve left that side unfinished, until I complete the next step….

2
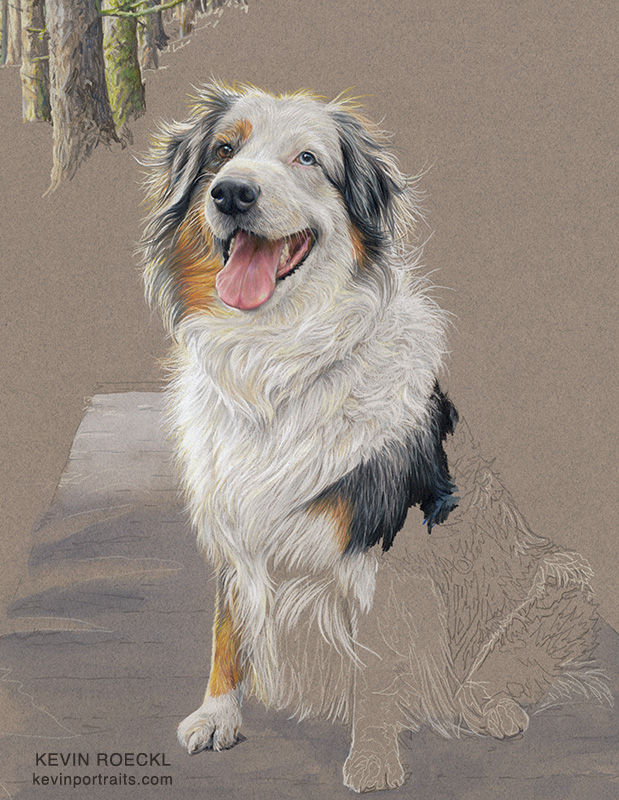
Watercolor wash added to the grey paper to make the bridge.
Part of that wash covers the area where white pencil would have been if I had finished Shasta’s white ruff all the way to it’s left edge.
For the wash I used white paint thinned with water for the upper part, and blue wash made with a mix of ultramarine blue and black paint (but mostly water). Just enough to “tint” the grey paper. That gives a nice blue-grey. It looks too blue right now, against the untouched grey paper around it….but when the green leaves are all filled in, the bridge will look like grey planks in shadow. Those gaps on the left side are where ferns will overlap the planks.

3
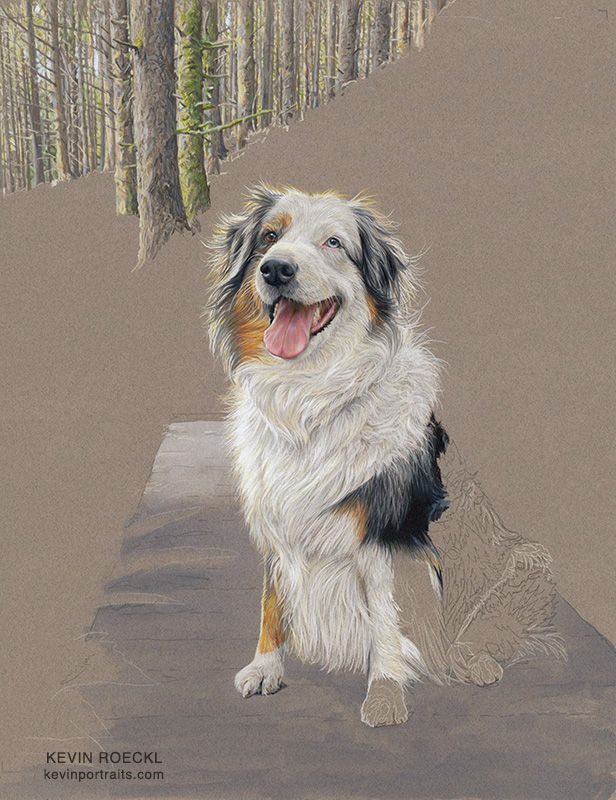
After the wash dried I was able to do the white pencil-work OVER the blue-tinted paper, instead of blue wash going over the white pencil. Which would have made Shasta’s hair light blue on that side. This is how I plan a “strategy” for an artwork, thinking about the order of the steps before I do them.

Now you can get more of a sense of the sunlight hitting Shasta from the left side.
4
The whole artwork as it looks now. I continue working my way down and across Shasta’s body. Front legs in progress now. There is more white than necessary on the left side of Shasta’s head because I exaggerated the amount of white I’ll need there. When I add the greens in the background it will knock some of that back.

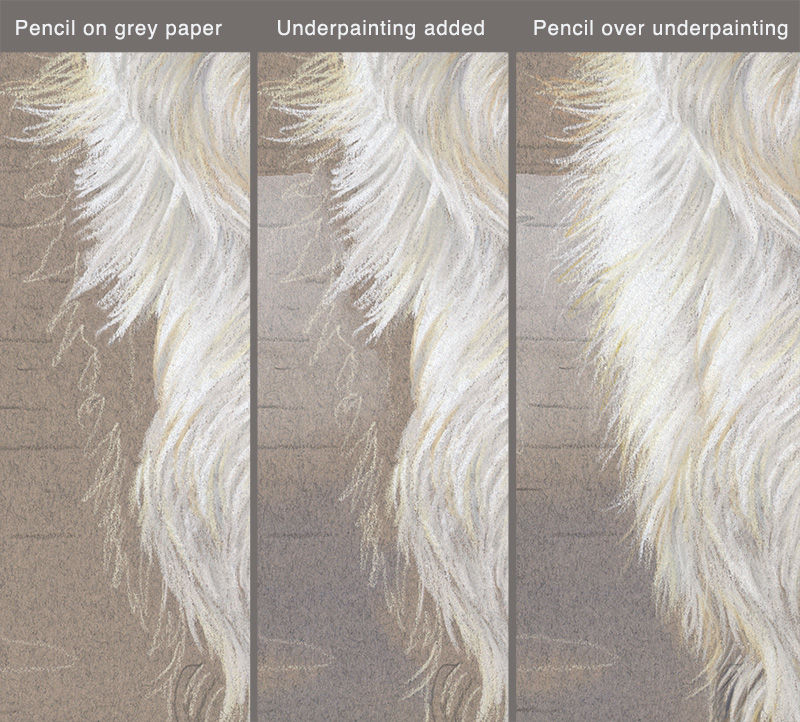
Below is a close-up of the steps:
STEP 1 - I paused the pencil work to leave space along that left edge.
STEP 2 - Watercolor wash added. As you see, it infringes into the area of the ruff.
STEP 3 - The wash has dried, and I finish the brightly-lit edge of Shasta’s soft white ruff, making pencil strokes OVER the blue wash.

Long soft hair like Shasta has, is fun to do with colored pencils. They are particularly suited for doing hair and fur!
“Shasta”, a portrait of an Australian Shepherd in a forest scene, in progress.
Prismacolor pencil on grey Canson paper, 20 x 26 inches.


Comments